6 Easy Steps to Install Under Cabinet Lighting LED Strips
Under Cabinet Lighting LED strips are becoming a trend. Before this, illuminating your under cabinet spaces like a bar or a kitchen had very few options. Fluorescent tubes or halogens were the only choices available. But, thanks to the low-voltage, waterproof, and feature-rich LED lights, lighting up your counters is easy.
Installing the under cabinet lighting LED strips is also one of the best ways to create usable task lighting in your kitchens. LED under counters lights are available in many variants, including color-changing RGB/RGBW, waterproof, and others that bother to list.
These under cabinet lighting LED strips have various features. Most of them come with a controller included in the kit that helps you enjoy the features like music synchronization and color-chasing.
These controllers also support smart home devices like Alexa, Google Home, or any other smart-home app of your choice. Check out our comprehensive guide to learn more about these features of LED controllers.
Even though under cabinet lighting LED strips are easy to install, planning out stuff ahead of time will help you a lot. Since the process involves buying different accessories, it is easy to get lost. Large items like the strips or the power supplies are easier to remember, but when it comes to connectors, screws, and other minor stuff, people often forget to buy them, or worse, end up buying the wrong ones.
It is not only the planning stage, but many people may get stuck in installing the under cabinet lighting LED strips. So, if you’re a complete beginner, we would recommend checking out our ultimate guide on installing LED strip lights to have a clear idea of how the process looks.
In this guide, our focus will be on installing under cabinet lighting LED strips. You can use this guide as a reference when installing LED strip lights under counter in your kitchen, bar, or gaming setup.
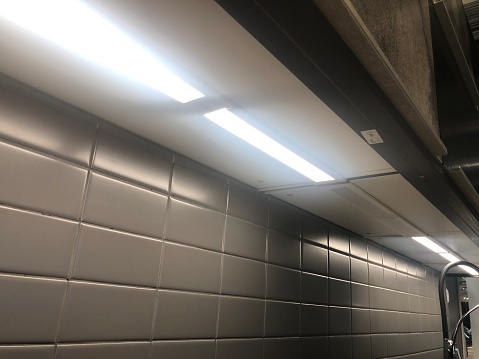
Color Bright LEDs team recently installed a setup under a bar counter, and we’ll be using that project as a reference for this guide. To start with, here are the before and after images of the installation:
Before
After
Accessories you Need to Install Under Cabinet Lighting LED Strips
Before you move ahead to install the strips, it is recommended to list down the required accessories first. This way, you’ll have a clear idea of the installation. Here is the list of accessories we used for our project. Remember, factors such as the size of the strips and the number of connectors used may be different in your projects. It is a list aimed at giving you an idea of what accessories will be required.
- Two 16.4ft reels of Govee LED strip lights
- 2 Strip-to-strip connectors (came with the kit)
- Strip-to-strip ‘without a wire’ solderless connectors (additional)
- 12v power supply
- A wire extension (needed if you want to run gaps)
- LED strip Dimmer
- Measuring tape
- Wire strippers
- Sharp scissors
- wire nuts
- 3M Command Hanging Strips
- Black electrical tape
Now that you have all the accessories in place and are ready to start the installation – let’s start with the first step.
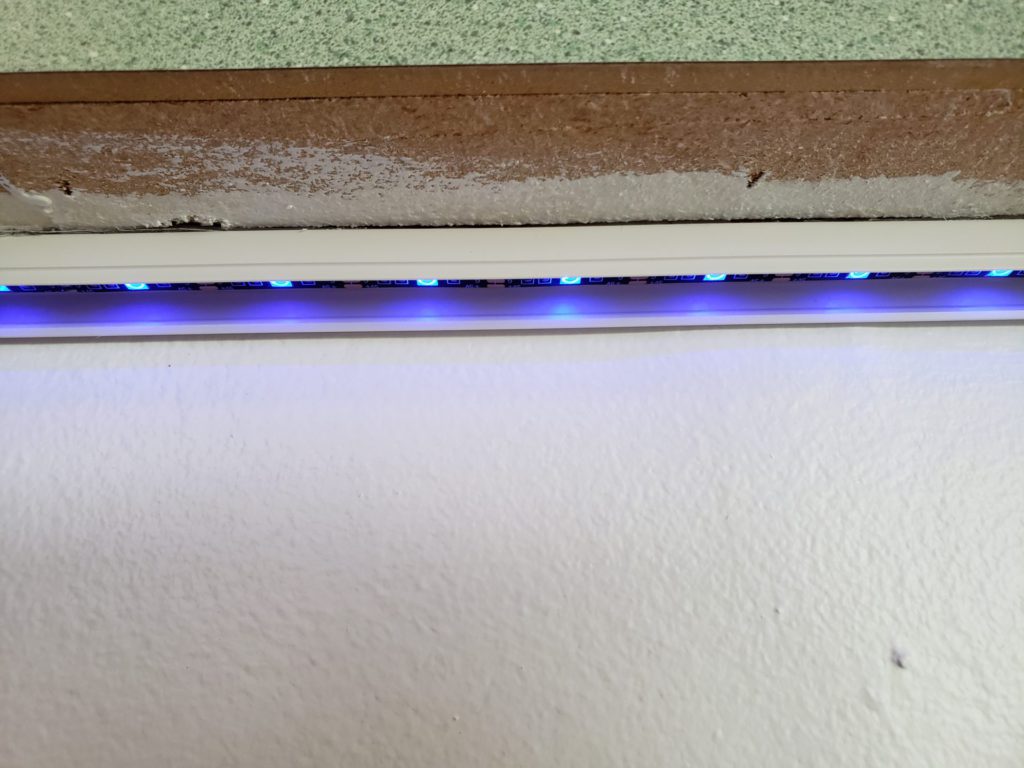
Step 1. Check if the LED strip lights work
First things first, check if the under cabinet lighting LED strips are working as you want them to. Test the brightness, color, and all other aspects to see if the LEDs are a perfect fit for your project. Sometimes, people realize that the lights were not a good fit for their project after installing them. Make sure that doesn’t happen to you.
Before cutting the LED strips,
- Unroll the LEDs from the reel and connect them to the power supply
- Turn on the power supply
At this stage, check if the strips are fit for your project. Testing the brightness and color of the strips will help you see how the outcome will look. It will also help you decide if you’ll need additional accessories such as a dimmer for the LEDs.
If the lights do not light up, there might be some problems with the connections. Make sure they’re good to go, and if the LEDs still don’t work, you may have to contact the manufacturer/seller. If the LEDs work fine at this stage, it’s time to move to the next step.
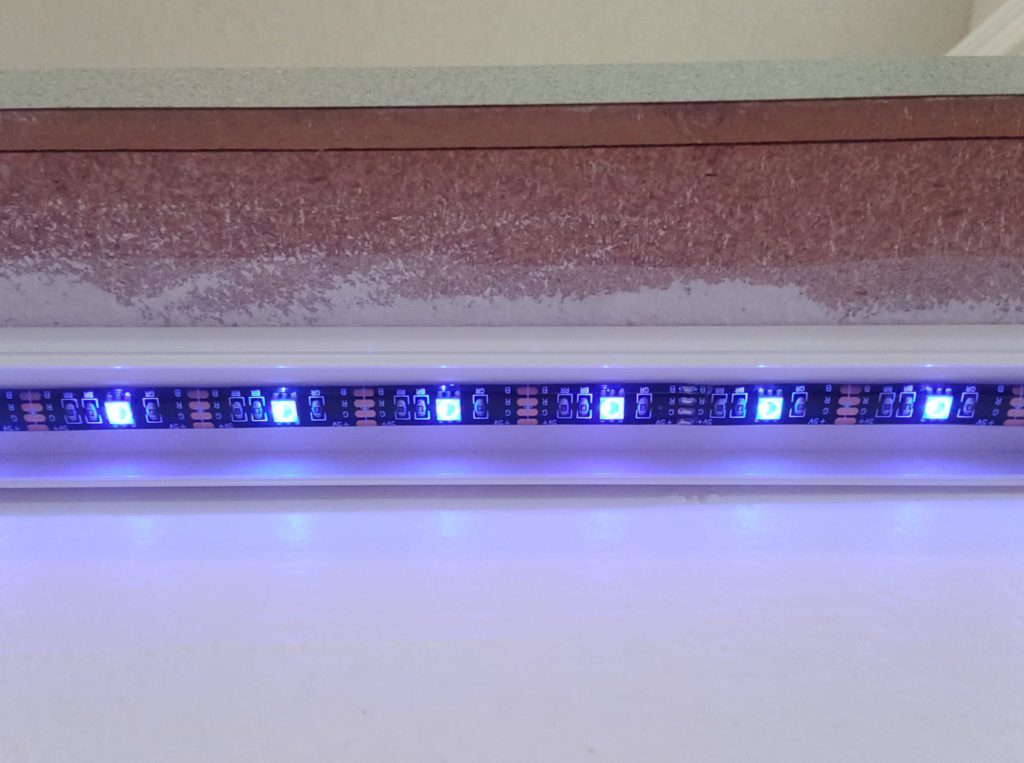
Step 2. Make the Cuts
The next step in the process of installing under cabinet lighting LED strips is to make the cuts. After you’ve tested your LED strip lights and you’re satisfied with your results, you should go ahead and measure the area (if you’ve not already). After the measurements, cut your strips accordingly with sharp scissors. Make sure you’re making the cuts on the marked areas of the strips.
Step 3. Connect the Strips with each other
Now, it’s time to connect the strips. You must have corners in your installation, or you might want to run a gap in your project. To do all of this, you will need to connect your under cabinet lighting LED strips either through soldering them or using ‘solderless connectors.’
Soldering your LEDs is more of a permanent solution. But, it will require more effort. Using connectors is a simpler alternative in this case.
In your installation, you may also need multiple strip connectors, for instance, strip-to-strip for connecting two short strips and strip-to-wire for corners/running gaps.
That’s not all; the quality of your connectors is also crucial. They should be durable enough. To learn more about their features and requirements, we recommend you check our guide on the best LED strip connectors.
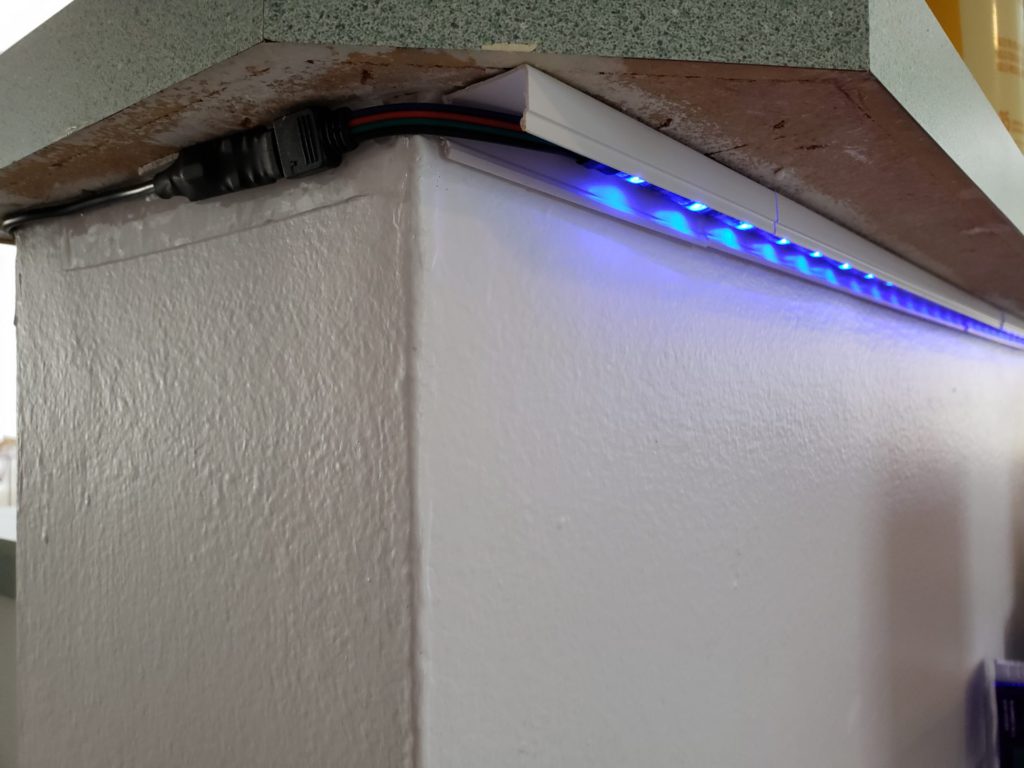
Step 4. Connect the strips with the power supply
After you have made your strip-to-strip connections using the connectors, connect your under cabinet lighting LED strips with the power supply.
Choosing the appropriate type of power supply is an essential element of the LED strip lights installation process. No matter what project you’re working on, you must choose the most appropriate power supply for you. We have a dedicated section to powering your LEDs in our ultimate guide to installing LED strip lights. You can check it out to learn more about it.
At this point, you must also make sure that the wires can easily reach the power source. Since you’re working with under cabinet lighting LED strips, the availability of a power outlet is not difficult. But, if you do not have any power outlet near your installation, you may also want to install under cabinet lighting LED strips that are powered by a battery. Check out our guide to learn about battery-powered LED strip lights.
Step 5. Check if the strips light up after the connections
Now that you have made the strip-to-power and strip-to-strip connections, it is good to re-check your LED strip lights. There might be some problems with the connectors. Therefore, checking the strip lights ahead of placing them under your counters will be a good idea.
If the lights power up correctly and produce the desired results, you’re good to go.
Step 6. Install the dimmer and plug the lights in
Finally, it’s time to take off that adhesive backing from the strips and place them under the counter as you wanted them to.
Step 6a: Use a Cable Hider if necessary
This is an additional step. If you want to hide the wires that you have used in your project, you can also use a cable hider. To be honest, no one wants to see their space filled with ugly-looking wires.
But, the process of hiding the wires is difficult for many. Using a cable hider solves this problem. No need to drill your space and find ultra-creative ways to hide the cables, just use a cable hider and you’re good to go.
Yecaye 250in Cord Hider – The cable hider we recommend
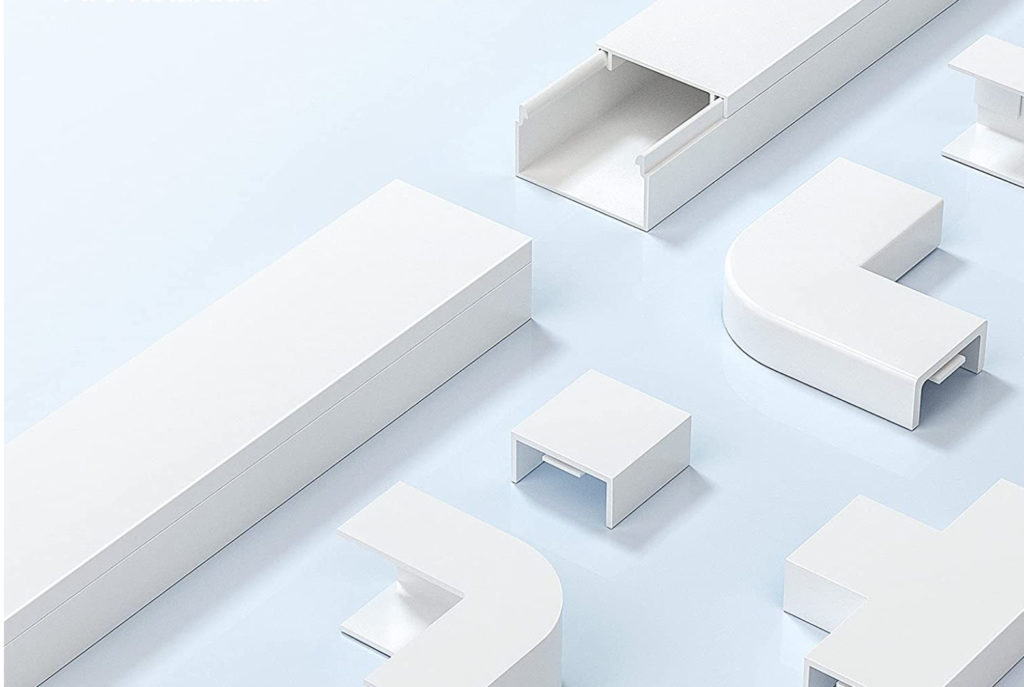
You must use a cable hider not just for an under cabinet lighting LED strips project but for all the electric installations in your home. This cord hider helps you to get rid of the clutter, organize your home and keep a safe environment for the kids.
We recommend the one from Yecaye because we have used this in our projects, and it is highly-rated on Amazon as well.
Also, there are other ways to hide LED strips lights, and the wires.
![How to Put LED Lights on TV [4 Easy Steps]](https://colorbrightleds.com/wp-content/uploads/2021/10/LED-Lights-For-TV-2-768x512.jpg)